Monday, October 18, 2021

Learning about the VRRV's House Battery's capacity.

 How little did I really know about batteries and determining their capacities!

Thanks to RichardM, I think I understand the concepts involved much better now, in order to make better decisions as to power usage, power planning and so on.

It all started with the installation of a new battery monitor, 
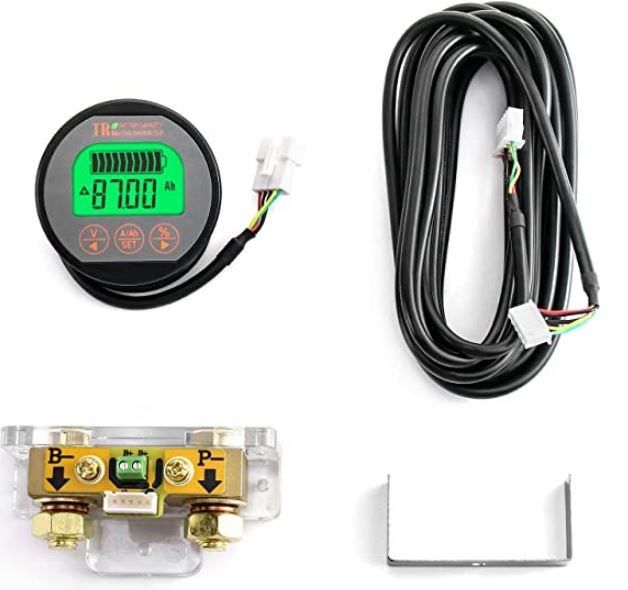
Image source: Amazon
QWORK Battery Monitor Voltmeter Ammeter
Voltage Range 8V-80V and up to 500A, 
Voltage Current Meter with 13 ft Custom Cable

The installation was straightforward and 13 feet of cabling was plenty to be able to mount the display above the VRRV's door.

Subsequent testing revealed that what I thought was the house battery's capacity was way too high/optimistic!

After extensive tests, guided by RichardM, we believe the actual battery capacity of the three year old battery has gone from 114 amp hours when new, to roughly 60 amp hours.

The "load" was the high beam setting on a headlight,
which ranged from a high of 4.9 amps to a low of 4.1 amps

60 amp hours sounds pretty good right? Well, not quite.  You can only discharge a Flooded Lead Acid Battery down to 50% to avoid damaging the battery and shortening its lifespan.  So really, 30 amp hours is the usable capacity.

The testing showed the battery down to 12.4 volts after "resting" with no load for 90 minutes.  When I hooked up the battery to the battery charger, the charger reported 12.4 volts and the meter reported about a 60% charge remaining.

Note: There were five "load" evolutions, resulting in the 22 amps used.

Basing state of charge or SOC using just voltage is an approximate at best method per RichardM and I believe him.  So once I get the battery charged up again, I'll the set capacity amp hours at 60 ah on the new monitor and see how that works during further testing/usage.

Concepts learned/re-learned:

You have to wait till a battery has "rested" or had no load/charge for at least one hour before measuring voltage to get the "true" voltage reading.

Reconditioning batteries is something that should be done every other month or so, I'd not done this at all so the battery paid the price in terms of diminishing capacity.  

I had to move the negative cable for the inverter to the new shunt, it had been separate before and thereby its energy draw wasn't monitored!

Recurring discharging of the battery down to or close to 50% also hurt the battery's capacity/performance.  

Battery monitoring requires very good and tight connections throughout!  I discovered loose connections as I installed the new monitor, which probably caused the sporadic abnormal readings with the old battery meter.  

Due to the design of the new shunt, had to change the connectors on existing battery cables to fit.  I learned that such connectors come with two different hole sizes!  Something to be aware of!

The battery fill system I bought back in January of 2017 works great.  I found the battery cells all topped off during testing.

Using a Battery Hydrometer Tester is a good thing to do.  All six cells on the house battery were in the blue range shown below.


My regular power requirements center mainly on running the Dometic Propane Fridge in the VRRV overnight when of course there's no power coming in from the solar panel.  Tests determined it uses about .76 amps/hour to run.  So, 14 hours of no sun-generated power would be roughly 10.6 amp hours.

That would theoretically leave 20 amps or so to power the LED lights in the VRRV and power the fans and water pump during the sunless hours.  So, existing capacity remains satisfactory even though its down by more than half from new.

Note re instructions that came with the Qwork battery monitor.  The translation from Chinese to English was "lacking precision and clarity" and the font used was ridiculously small!  These factors led me to misunderstand the setting of the "discharge voltage".  RichardM clued me in after several "mysterious to me" events where the battery monitor reported zero ah and zero battery gauge when the voltage clearly showed the battery had plenty of charge left!

Wednesday, October 13, 2021

Boondocking for a couple of days near Penrose, CO

 Felt the need to "escape the cesspool" this past weekend so I drove away from the metro area Monday morning and after a couple of "check out" drives to Red Canyon Park and Oil Well Flats BLM (both north of Cañon City, CO that were unsuccessful, ended up at the usual spot within the Penrose Common Use BLM area.

Note:  No cell signal within Red Canyon Park and the roads have gone to shit in several spots leading to the more remote campsites within Oil Well Flats BLM!  Not RV friendly at all!

Been here before, many times.  It's not a bad site for short rides to Skyline Drive, the Royal Gorge and other venues near Cañon City but it's beginning to lose its "charm" due to over-familiarity I think.

Monday, Oct 11:

After setting up camp, I drove the Sammy to check out the rest of the camping areas, finding only three other campers, two of them looking a bit sketchy but distant from my site so all good.

For instance, there was this abandoned looking wreck of a Class A unit near the entrance to the BLM are:


I thought someone had abandoned it after trying to repair it!  However, I would see a small car the next day, parked next to it with some guy moving about the rig.  Yikes.

Leaving the BLM area, I checked out nearby Brush Hollow Reservoir and also the area beyond it which borders the reservoir.  


The temperatures got down into the low to mid 40s overnight, not too bad but then the winds came.

Tuesday, Oct 12

Windy and overcast most of the day!  No fun outdoors so instead I went to a local auto parts salvage yard seeking perhaps parts for the Sammy.

No luck on the Samurai parts but I was surprised by a small "showroom" displaying all sorts of interesting vehicles, automobile-themed toys and motorcycles.  It wasn't a museum, no info plaques anywhere, I think its stuff that someone ended up in the hands of the salvage yard owner over the years.  No price tags either so not for sale perhaps.

A precusor of the three-wheeled rigs one sees on the roads these days, pretty sure its basically a motorcycle with a shell mounted onto it.


An early version of the Ural Sidecar Rig, it was 1WD but otherwise looked pretty good.  No leading link on the front wheel and of course the mandatory oil pan to catch oil leaks!


I'm guessing this is a vintage model from the Jeep folks?


Lots of automobile-related memorabilia on the walls, a sprinkling of vintage motorcycles and several other cars.


This was one of two pegboards displaying different spark plugs.  I'd not realized how diverse and varied spark plugs had come in!

Leaving the auto salvage yard, I headed on to the Vietnam War Memorial Park nearby, it's located near the intersection of US50 and CO 67 Highway.

F-4 Phantom, a former pilot joked that the Phantom was
proof that with enough thrust, even a brick could fly!

AH-1 Cobra Attack Helicoper


M113 Armored Personnel Carrier

The Sammy facing the Bell UH-1 Iroquois Helicopter
better known as the Huey

Returned to camp as the weather and winds worsened, ended up hunkering down through another cold night.

Wednesday, Oct 13.  

Woke to windy conditions which made the temperatures in the low 50s seem to be colder!  Decided to break camp and came home.  I guess the time for camping in tolerably cool weather in Colorado has come to an end for this year!


Wednesday, October 06, 2021

Fall Colors are peaking in the foothills!

 Today, I drove my '87 Suzuki Samurai to check out the campsites at the Kelly Dahl Forest Service Campground near Nederland, CO on CO Highway 119; also known as the Peak to Peak Highway.

The Peak to Peak Highway serves as  a link from the I-70 Super Slab to Estes Park and the Rocky Mountain National Park.  It would take me almost 2.5 hours (left home too early and got caught in the morning rush hours traffic), but made it to the campground with no issues.

The sites are small and would be a tight fit for the VRRV.  Note: Sites 1-20 are marked as First Come, First Serve.  After the 10th of the month, the campsites are no longer reservable online via rec.gov but the camp host was unsure when they'd close the campsite for the winter.

I wasn't that impressed with the size of the sites so will really have to really think about using this campsite in the future.

Continuing north on CO 119, I soon came to Magnolia Road which I turned off onto and eventually reached the Winiger Ridge Campground area.  The roads remain pretty tough for low-clearance vehicles and 4WD is definitely required for some of the more technical spots!  Heck, I had to put the Sammy in Low Range for most of the rough portions!

Still, I made it all the way to the end of the FR 529 trail.  Only saw two campsites occupied, tent sites of course as no RV I know off would make it to the designated campsites.

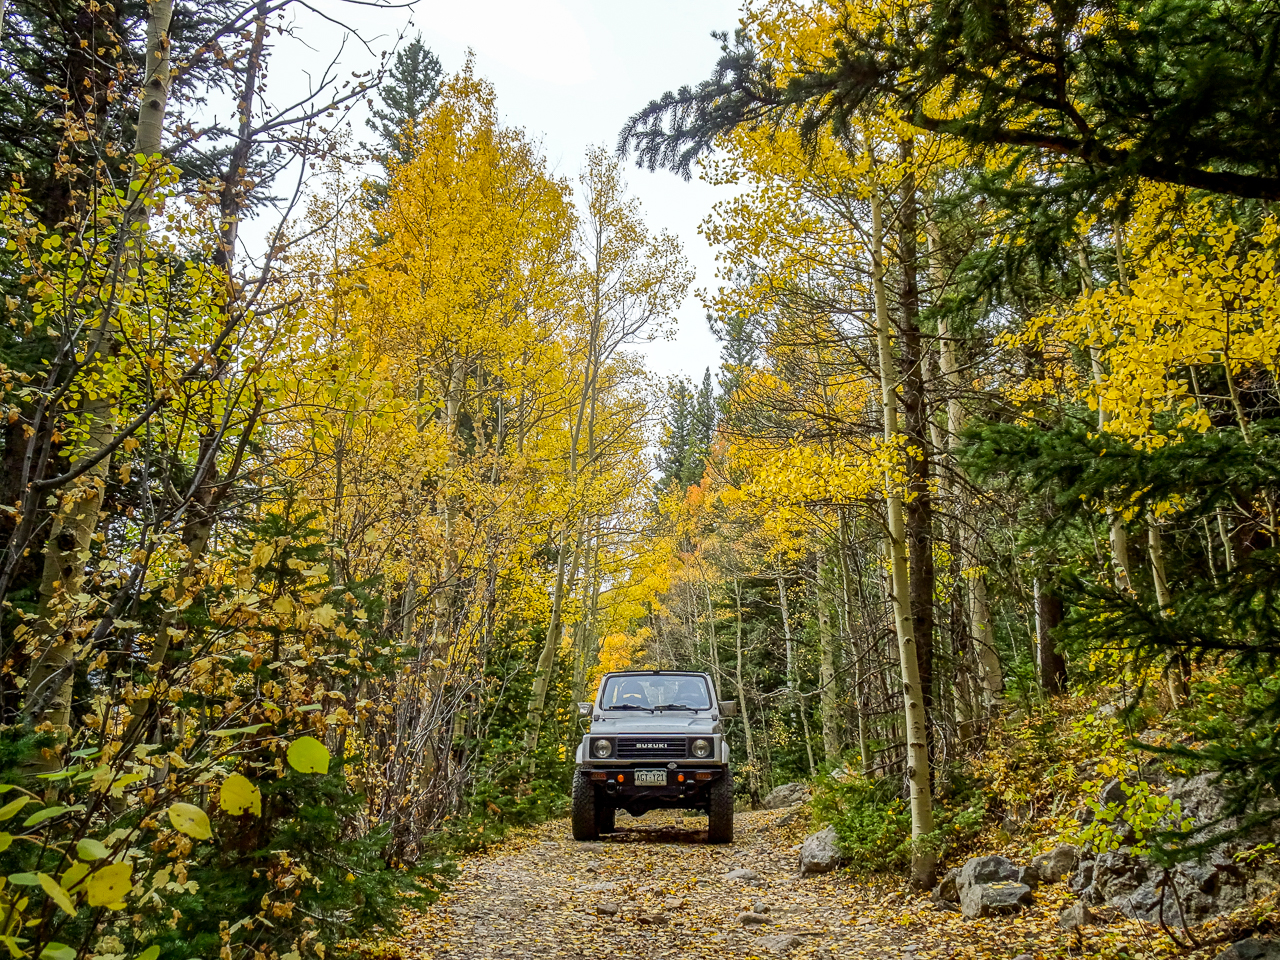
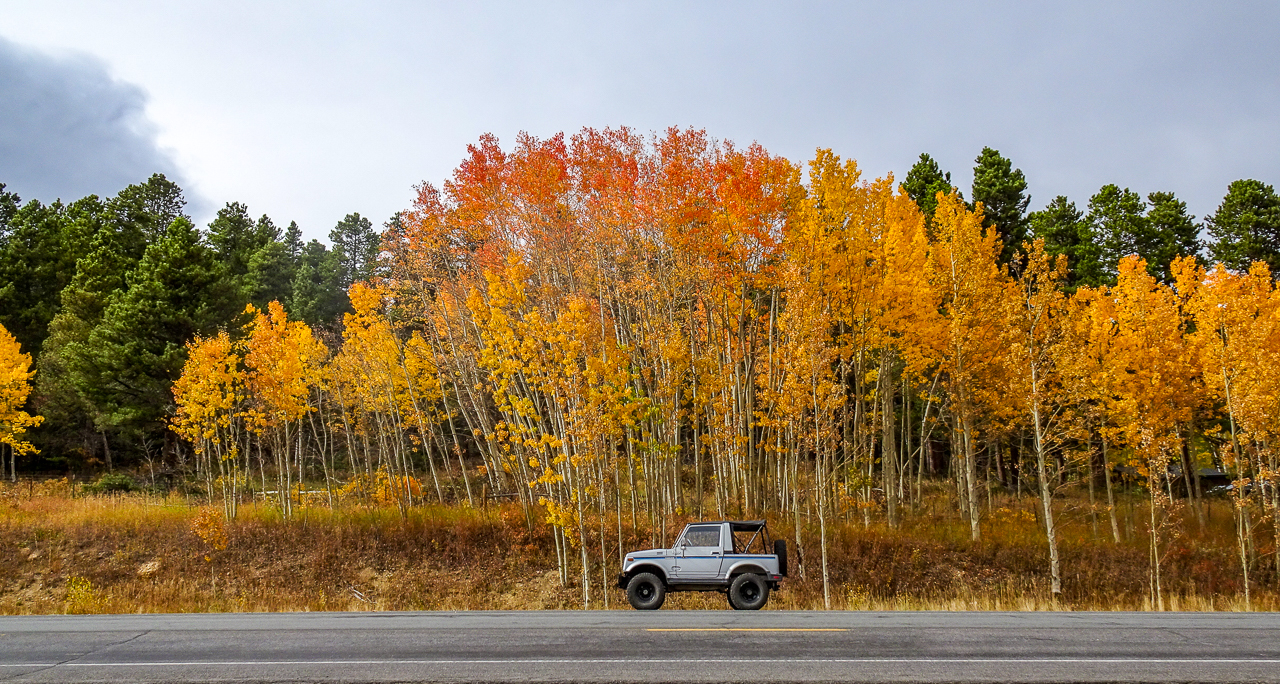
Here's some of the Fall Color I posed the Sammy by on the way back to Magnolia Road:


Here's the Fall Color at someone's driveway along Magnolia Road:


Getting back on CO 119, now heading south, I turned at Rollinsville and headed for Tolland and Rollins Pass.  Here's some of the Fall Colors along the way to the vicinity of the East Portal for the Moffat Railroad tunnel.


Near the tunnel entrance, I elected to instead head up Rollins Pass Road and about a mile of bumpy rocks and boulders, stopped at the second pull out to see the view:


Continuing back down now, I stopped for pictures as shown below and at the first turnout parking spot:


You can see the railroad tracks heading towards the East Portal of the Moffat Railroad Tunnel:


I made it back down with no issues and checked out the tunnel entrance.  No pics, it was obscured by construction equipment and supplies.  Apparently, they're doing concrete repairs within the tunnel until sometime this coming December.

I spotted a trail off the main road to the tunnel portal area and turned the Sammy onto it.  It was quite nice and scenic in terms of Fall Colors, all the way to where the trail ended:


Returning to Rollinsville, I got back onto CO 119 and continued heading south, here's a couple of pics of the great Fall Colors currently peaking along the Peak to Peak Highway.  Too bad the skies had become solidly overcast and blocked the sun's rays from highlighting the leaves on the Aspen.


Still, as I hope you agree, the Fall Colors did show up nicely in spite of the lighting conditions.  I wasn't the only one stopping on the side of the highway to take pictures either!

Made it home around 5:30 PM, having gotten caught in the maddening rush hours traffic.  I made a bad decision to use a different route than usual for getting home and paid the price!  Arrgghh.  Still, no issues encountered though I do have to see about further adjustments of the rear brakes on the Sammy.  They could be better I think.


Sunday, October 03, 2021

Visiting with the Machidas and Scarlett is back together

 While I was waiting on parts from IMWA/Ural for Scarlett, my 2014 Patrol Sidecar Rig, we were fortunate to have Bridget and RichardM camping in the somewhat nearby Chatfield State Park.

They were enroute to Albuquerque, NM to attend the big Hot Air Balloon Festival; spending Wednesday through Friday of this week at Chatfield.

The weather while they were at the park was cool and overcast, sadly but the company was great.  We chatted, we dined, and they got errands done as well.  Sadly, no real time or inclinations for touristy stuff and even sadder, no pictures of them or Martha or I.  Sorry.

Here's pics of the Wildlife Viewing area within the state park, I used my Sony HX80 camera which is back from the shop.


While we camped, Martha worked.  She did get this great pic of a very nice sunrise that I managed to sleep through as I was camping too, near the Machidas.

Saturday, the parts from IMWA/URAL arrived....only three days after being ordered by the local Ural Dealer.  How's that for quick service eh?

The installation of said parts went easily enough.  Sticking the lower triple tree assembly with the steering stem in the freezer shrunk down things enough to easily tap the lower bearing into place.  Had I heated the bearing beforehand as advised in this great video, it would have probably just slipped right on.


The plan had been to use the special tools (borrowed from Brook R, local Airhead guru) but Russian specs were a bit larger than BMW specs.  So I was only able to use the tool bits that enabled easy pressing in of the outer races.

I do, highly recommend, Brook's tutorial post on this procedure:  LINK

Sunday, today, after returning the VRRV to storage....it was time to do a test ride of Scarlett and my ham-fisted repair work.

I drove Scarlett to Arvada, to the home of Brook R., the owner of the special tool kit for replacing steering head bearings made by cycleworks.net.  Brook wasn't home so I left the tools in the location previously coordinated with him.

Since I was on the west side of the Denver Cesspool, I decided to continue the "test drive" and head into the foothills/mountains using Coal Creek Canyon Road aka CO 72.  I wandered my way to Gross Dam in Boulder County.

Here's one's initial view of the dam itself:


There's two options once you near the dam, the North Shore and South Shore routes.  I took the North Shore version first.  This dirt road proved very, very wash-boarded!  Scarlett was bouncing more than I like at times but eventually we made it near the top and near the parking lot for the North Shore trailheads.


The view from the parking lot was not bad, you can see the dam, somewhat:


I made my way back down to the T-Junction and got onto the South Shore route.  This was a much smoother route, with only one short patch with some shallow holes here and there.  I will say, the scenery is better on the southern route and you get much closer to the dam as well.


It was now time to head back home, I took a different route back, crossing the metro cesspool area via US285.  Traffic was a bit heavier than the morning but still not too much of a shitfest.

It was 185 km or 111 miles worth of a test drive.  I'm happy to report that the only problem I had was when the severity of the wash board road caused Scarlett to start misfiring.  Not sure why it happened but a restart was that was needed to get things working right again.  The wash board bouncing was so bad that it even popped the final drive into 2WD!  Luckily, I spotted this while wondering what had happened to the engine.